Saturday, August 12, 2023

Pitcher Mountain (W1/HA-152)...Picture Perfect

This summit might as well be a drive up. About 0.45 mi climb. About 10-15 min tops. Fire tower not open at the top, but you can ascend to get a descent view of Monadnock and Sunapee. Didn't want to hang my antenna from the tower--didn't want to get caught up in all the other J-poles and dishes hanging off the fire tower. Used my (compromise) AX-1 instead. Only occasional QRM operating and a bit slow going based on condx.


Monadnock in the distance


Update on Access to Dakin Hill (W1/HA-212)

11 Aug 2023


Heavy June/July rains have taken a toll on access via Monadnock-Sunapee Greenway Trail! Access described by AA6XA (KB1KXL) from the Rt 9 parking lot via walkway/culvert running under Rte 9 is unavailable due to washouts. Yes, one can scurry across the road, but considerable care is required.

There were also considerable washouts on the trail itself. I saw a young man sweating out trying to free his 4-wheeler on my ascent. Even his dad with a 4x4 pickup was having challenges extracting him from the ruts. Fortunately, I didn't see them on my descent. I assume they figured it out.

Washouts on the trail

More washouts...

While some areas to the right and left of the trail were posted, there was no sign on restrictions when I started bushwhacking to the summit. I set my compass to ~320 deg mag and started moving up the shoulder of the hill. Lots of scrub brush, but trekking poles and a good spray of Permethrin that morning helped navigate up and down the summit...tick free.

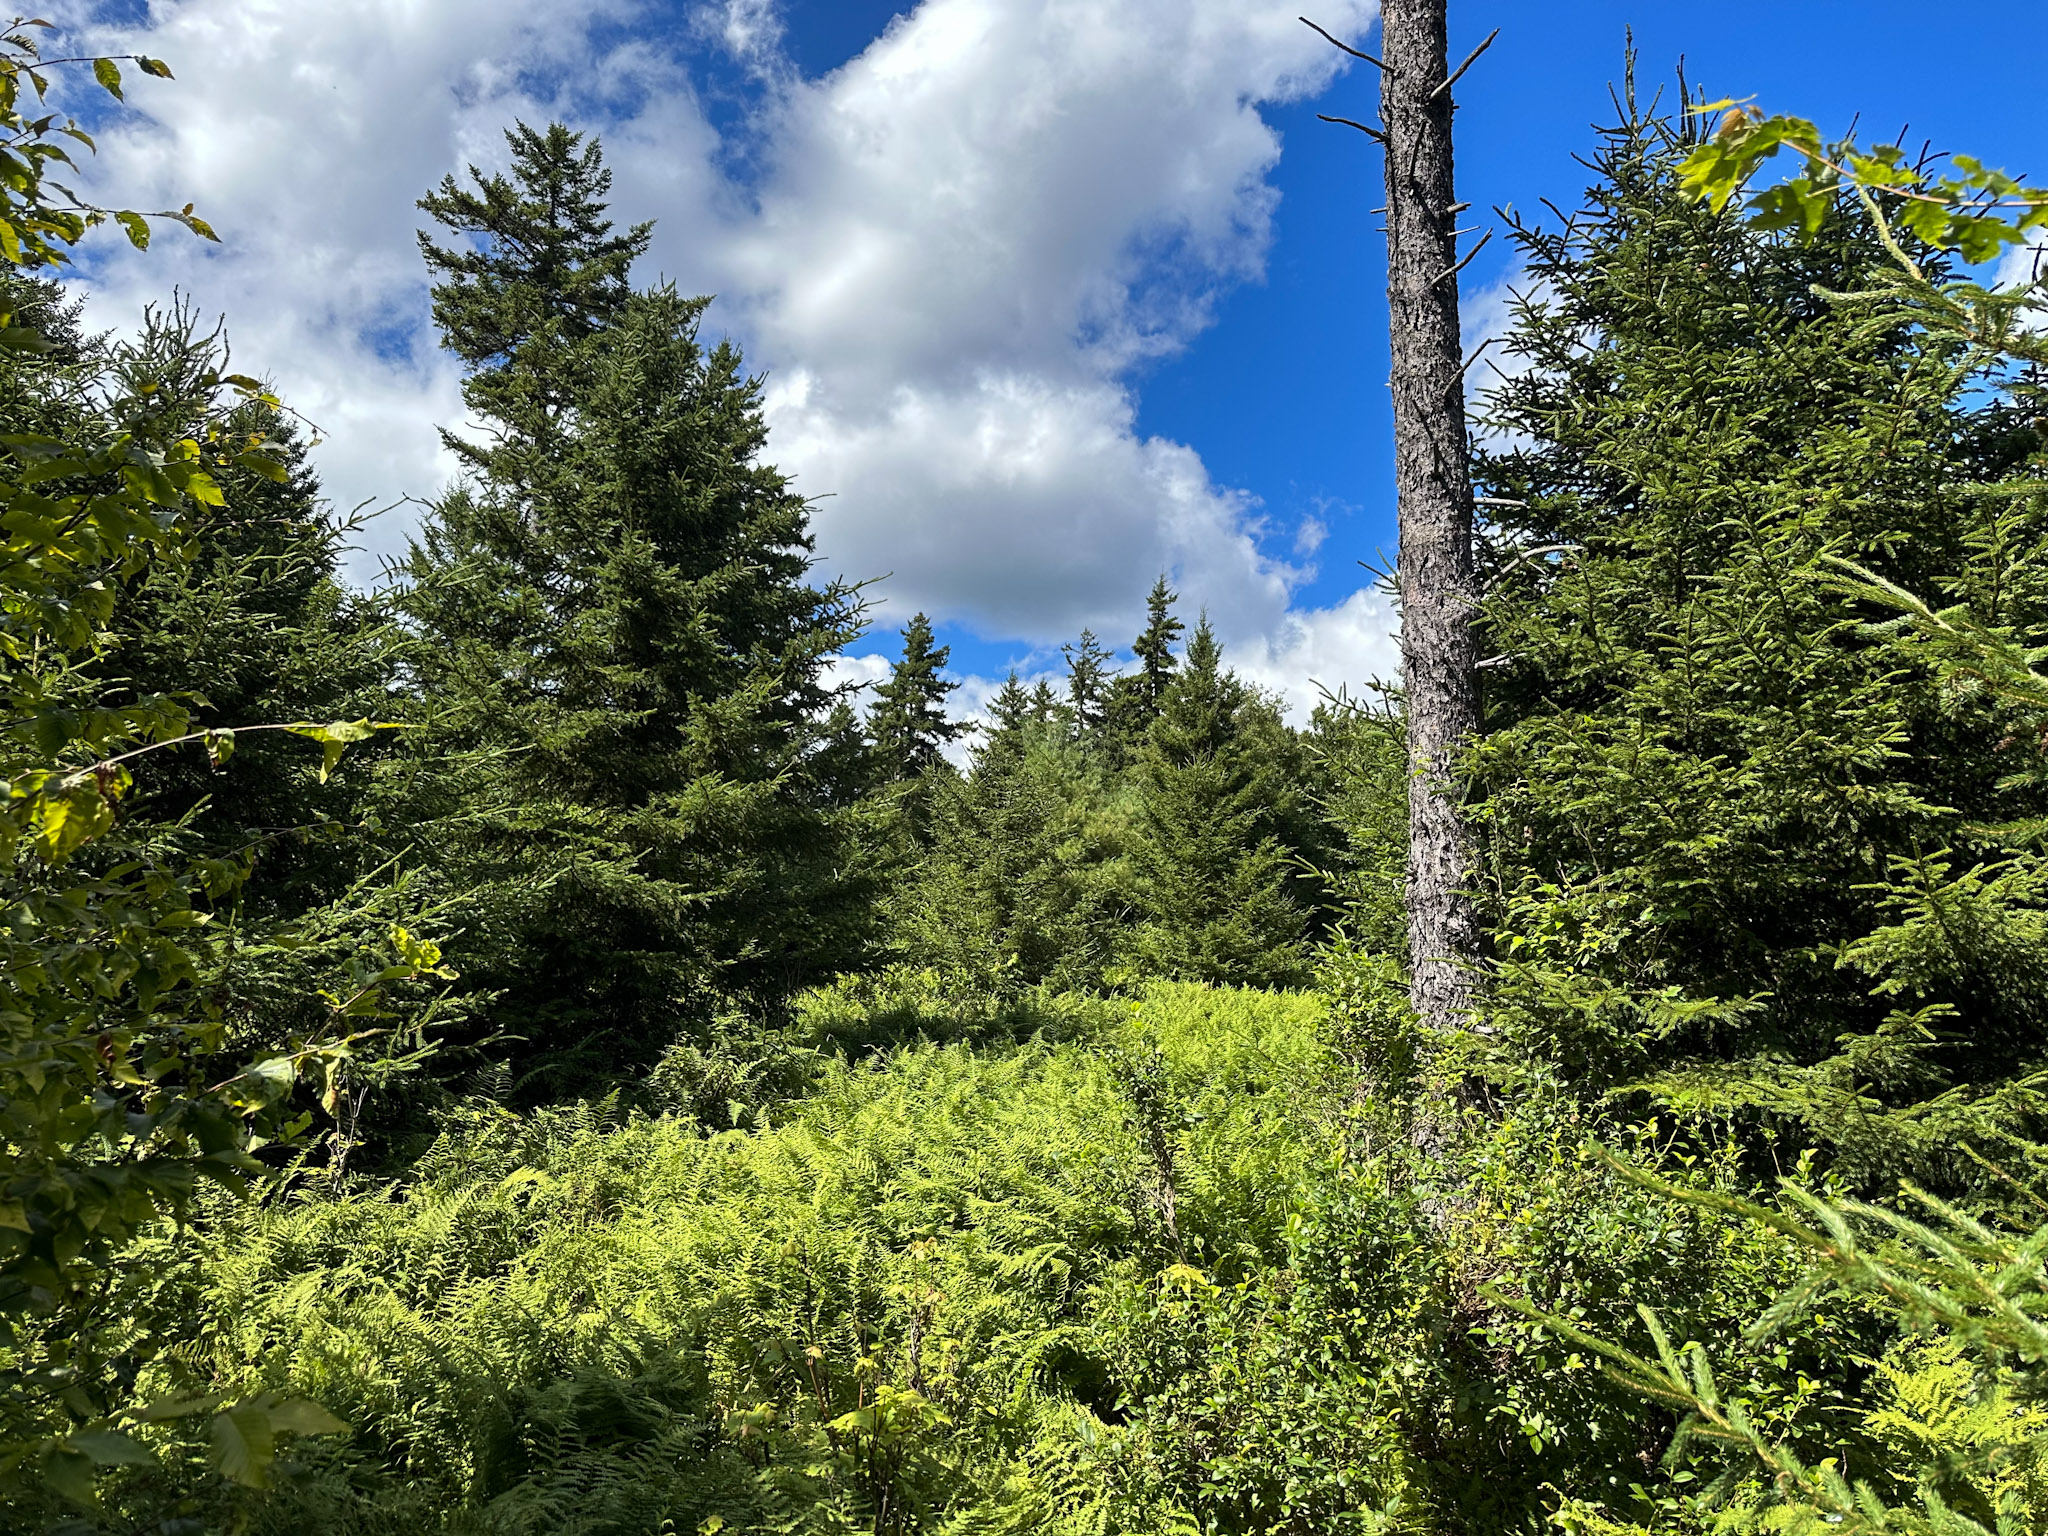
No view, but nice respite.

No real view, but a nice respite. Tough time making contacts. Two on 20M, none on 40M, and two on 2M FM. That's the risk of a weekday activation.


Tuesday, February 8, 2022

Simple Bluetooth Speaker for the Bench

 Cobbled this together out of some interesting off-the-shelf components:

Assembled this on a 1-1/2" x 2-1/2" PC board. Grounded the components to the board with solder braid. Used an old speaker from a boombox that I garbage picked. Solder blobs left on the board for effect. I'll reduce the length of all the wires and then probably mount this in a wooden cigar box as an enclosure.


Wednesday, December 22, 2021

Simple Guitar Amplifier

In the world of "If you know things, you can do things," I present to you a simple guitar amplifier. Use case for this project was born out of my daughter's (KK4ECV) return home from college. While she has a small amp in her barracks room, she wanted a portable version for the road. We toyed with several ideas and designs in the weeks before her return. I wanted to put everything in a small project box. But that size only accommodated a small 8 ohm project speaker. Didn't sound too impressive. Around that time I had recalled an earlier trip to Total Wine. They have a walk-in humidor...a feature of which are empty cigar boxes for take away of a handful of cigars. I grabbed several of the wood boxes for this and future projects.


The amp circuit is a simple LM386. I used film caps as they are purported to provide better audio fidelity. I don't know if that's true, but they're the only parts I bought. The rest of the bits in pieces were in my parts boxes. 


I etched the board. My daughter soldered all but the LM386. While we both wanted a smaller form factor, both of us felt that a single 32 ohm speaker I took from a garbage picked boombox sounded the best. We opted to forgo a variable pot as the only one in the parts bin was not sufficiently linear.


Monday, November 29, 2021

Not Radio: Remote Monitoring

  1. Use Case

I'm in the process of closing on a small cabin/cottage up in NH. My use case/requirement is to build inexpensive system to monitor the site/structure when I'm out of town. Of note, the system must be:

  • Inexpensive ($15-25) and make use of as many parts on hand as possible
  • Capture video and other telemetry (temp)
  • Able to push data remote, as in beyond the local network
  • Operate off cell data or WiFi (understanding that cell data will be difficult if pushing video)
  • Relatively easy to configure

Engineering Steps

After some initial tinkering and prototyping, I figured I'd adopt the following approach:

Let's Build

1. Build prototype and determine board type. 

First step is always research. I spent hours considering board types (Arduino, Particle, Raspberry Pi) since I have examples of all of these. I eliminated Arduino early in the game as that solution required additional boards for communications, namely WiFi. My Photon Particle boards came in second. They are about 5+ years old and required some work but they might make due for the telemetry portion of the project. They do not, however, have sufficient processing power to handle video. This left me with the Raspberry Pi. I have several running around the house: Build-A-Pi for Winlink, another for tracking radiosondes launched out of IAD, and another running 24/7 as a FightAware PiAware device.     

Now, I looked at potentially repurposing the radiosondes receiver since that use is periodic. [Note, I wanted to use this as a project to not only track sondes, but estimate path and retrieve the sondes that might land on terra firma. Still haven't been able to get to this.] There is a Raspberry Pi image specifically devoted to home automation. I burned the Home Assistant image several times but could not get it running.

Instead I bought two Raspberry Pi Zero 2W's. These were, by far, the easiest to configure with the most avail code examples that I could borrow. Plus, the form factor was right on the money.
Raspberry Pi Zero 2W

2. Build video capture app on one board. Test.

I reviewed and tested several applications and images. The most promising, ContaCam seemed only to work with Windows and/or full Linux images.

I then tested Motion using several platforms. Motion is installed with the latest RPi images, so the codebase is well adopted and stable. Since I like to operate my devices headless (that is, without installing a monitor and keyboard, but instead remoting into the device), I configured this capability first. Here's a quick tutorial. I then installed/configured Motion NOT as in image, but the program itself (I never could get the slimed down MotionEye OS image to install and work correctly.) 

After installing and configuring the motion.conf files, I plugged in an old USB webcam and was off to the races. 
Camera Livestream


Once everything was running to my satisfaction, I turned on port forwarding on my router so that I could see the livestream from anywhere with a connection.

3. Build telemetry (temp, humidity) using DHT22 (b/c I have several)

My next requirement was to build something that would allow remote environmental monitoring. I have built several weather stations for the backyard, but I could never solve the power problem (operate off a battery, recharge with a solar cell. Once the temps dropped below 40F, forget about it.) Those stations were based on the DHT11 and its DHT22 cousin sensor. Only three terminals used: +3v3, GND, and Data. Data terminal uses a 10k pull up resistor.
DHT11, abt $5


In the past, I've used Thingspeak as my data repository. While several IOT repositories have gone by the wayside in the 5-6 yrs since I've messed with this stuff, Thingspeak/Mathlab is still in the business. 

After some research, I settled on using the Thingspeak library

Some helpful tools:


I sifted through enormous amounts of complex code and finally settled on my adoption of an IOT Starters version
import thingspeak
import time
import Adafruit_DHT

channel_id = 1577517 # put here the ID of the channel you created before
write_key = 'LWX0MK4IX0RLBC94' # update the "WRITE KEY"

pin = 3
sensor = Adafruit_DHT.DHT22

def measure(channel):
try:
humidity, temperature = Adafruit_DHT.read_retry(sensor, pin)
tempF=(temperature * 1.8) + 32
if humidity is not None and temperature is not None:
print('Temperature = {0:0.1f}*C Humidity = {1:0.1f}%'.format(tempF, humidity))
else:
print('Did not receive any reading from sensor. Please check!')
# update the value
response = channel.update({'field1': tempF, 'field2': humidity})
except:
print("connection failure")

if __name__ == "__main__":
channel = thingspeak.Channel(id=channel_id, api_key=write_key)
while True:
measure(channel)
#free account has a limitation of 10 min (60 sec * 10 min) between the updates
time.sleep(600)

4. Combine both apps on a single board

Since the telemetry development was freshest in my head, I decided to use the working Motion program and add telemetry on a single card. I then backed up the card as an image in case of crisis.

The next very important step was to add some type of auto-starting. If the power blipped or went out, I would have no way remotely to restart programs. I tried several code samples, but settled on using .desktop files.

Here are the basic instructions from https://learn.sparkfun.com/tutorials/how-to-run-a-raspberry-pi-program-on-startup/all ):

Create a .desktop File
You do not need root-level access to modify your profile's (user's) autostart and .desktop files. In fact, it is recommended that you do not use sudo, as you may affect the permissions of the file (e.g. the file would be owned by root) and make them unable to be executed by autostart (which has user-level permissions).

Open a terminal, and execute the following commands to create an autostart directory (if one does not already exist) and edit a .desktop file for our clock example:

mkdir /home/pi/.config/autostart
nano /home/pi/.config/autostart/clock.desktop
Copy in the following text into the clock.desktop ile. Feel free to change the Name and Exec variables to your particular application.

motion.desktop:
[Desktop Entry]
Type=Application
Name=Motion
Exec=sudo /bin/motion start

thingspeak.desktop:
[Desktop Entry]
Type=Application
Name=Thingspeak
Exec=/usr/bin/python3 /home/pi/DHT22_Thingspeak.py

5. Add web hooks for iot triggers

TBD


6. Harden system/prep for deployment


TBD


Monday, November 8, 2021

Have To Post This: You Can Now Order Pizza With Morse Code

The intersection of gaming, Morse code, and...pizza:  https://techround.co.uk/news/you-can-now-order-pizza-with-morse-code/